Sending your data off to someone else’s cloud to run an AI model can feel like handing your house keys to a stranger. There’s always the chance that you’ll come home to find that they absconded with all your valuables or left a giant mess for you to clean up (at your cost, of course). Or what if they changed the locks and now you can’t even get back in?!
If you’ve ever wanted more control or peace of mind over your AI, the solution might be right under your nose: hosting AI models locally. Yes, on your own hardware and under your own roof (physical or virtual). It’s kind of like deciding to cook your favorite dish at home instead of ordering takeout. You know exactly what goes into it; you fine-tune the recipe, and you can eat anytime you want — no depending on anyone else to get it right.
In this guide, we’ll break down why local AI hosting could transform the way you work, what hardware and software you need, how to do it step by step (including a one-command shortcut with Ollama), and best practices to keep everything running smoothly. Let’s dive in and give you the power to run AI on your own terms.
What Is Locally Hosted AI (and Why You Should Care)
Locally hosted AI means running machine learning models directly on equipment you own or fully control — a home workstation with a decent GPU, a dedicated server in your office, or a rented bare-metal machine — instead of calling a cloud provider’s API. Your data stays on your hardware, and there are no per-token fees or usage caps.
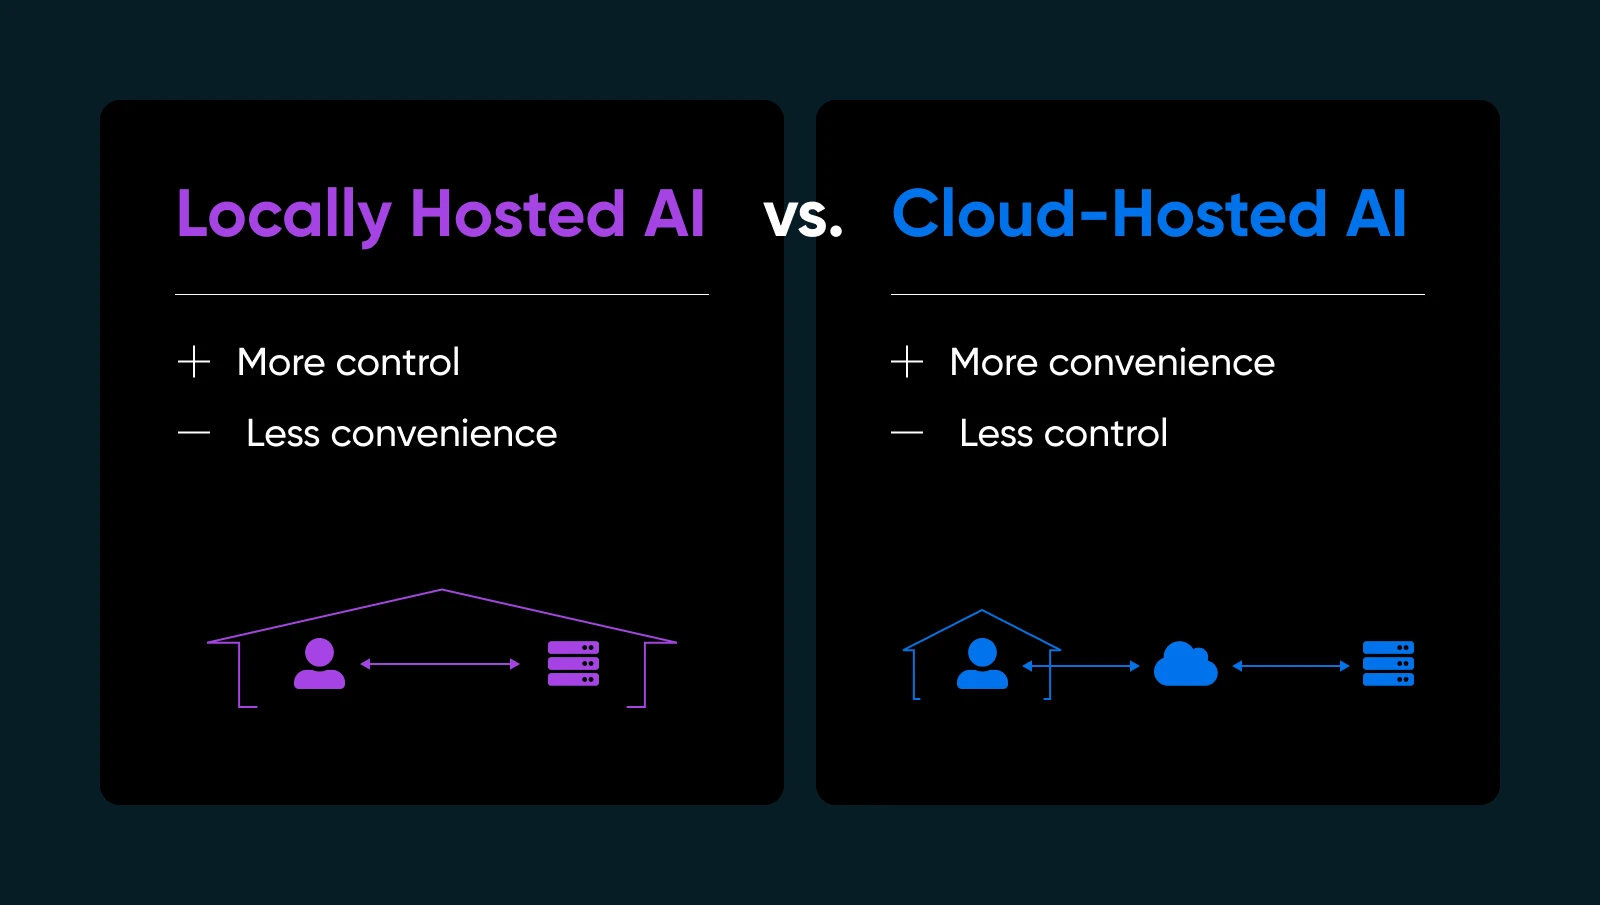
Why does this matter? A few important reasons…
- Privacy and data control: No shipping sensitive information off to third-party servers. You hold the keys.
- Faster response times: Your data never leaves your network, so you skip the round-trip to the cloud.
- Customization: Tweak, fine-tune, or even re-architect your models however you see fit.
- Reliability: Avoid downtime or usage limits that cloud AI providers impose.
Of course, hosting AI yourself means you’ll manage your own infrastructure, updates, and potential fixes. But if you want to make sure your AI is truly yours, local hosting is a game-changer.
| Pros | Cons |
| Security and data privacy: You’re not sending proprietary data to external APIs. For many small businesses dealing with user info or internal analytics, that’s a huge plus for compliance and peace of mind. Control and customization: You’re free to choose models, tailor hyperparameters, and experiment with different frameworks. You’re not bound by vendor constraints or forced updates that might break your workflows. Performance and speed: For real-time services, like a live chatbot or on-the-fly content generation, local hosting can eliminate latency issues. You can even optimize hardware specifically for your model’s needs. Potentially lower long-term costs: If you handle large volumes of AI tasks, cloud fees can add up quickly. Owning the hardware might be cheaper over time, especially for high usage. | Initial hardware costs: Quality GPUs and sufficient RAM can be pricey. For a small business, that could eat up some budget. Maintenance overhead: You handle OS updates, framework upgrades, and security patches. Or you hire someone to do it. Expertise required: Troubleshooting driver issues, configuring environment variables, and optimizing GPU usage might be tricky if you’re new to AI or systems administration. Energy use and cooling: Big models can demand a lot of power. Plan for electricity costs and suitable ventilation if you’re running them around the clock. |
Assessing Hardware Requirements
Getting your physical setup right is one of the biggest steps toward successful local AI hosting. You don’t want to invest time (and money) into configuring an AI model, only to discover your GPU can’t handle the load or your server overheats.
So, before you dive into the details of installation and model fine-tuning, it’s worth mapping out exactly what sort of hardware you’ll need.
Why Hardware Matters for Local AI
When you’re hosting AI locally, performance largely boils down to how powerful (and compatible) your hardware is. A robust CPU can manage simpler tasks or smaller machine learning models, but deeper models often need GPU acceleration to handle the intense parallel computations. If your hardware is underpowered, you’ll see slow inference times, choppy performance, or you might fail to load large models altogether.
That doesn’t mean you need a supercomputer. Many modern mid-range GPUs can handle medium-scale AI tasks — it’s all about matching your model’s demands to your budget and usage patterns.
Key Considerations
1. CPU vs. GPU
Some AI operations (like basic classification or smaller language model queries) can run on a solid CPU alone. However, if you want real-time chat interfaces, text generation, or image synthesis, a GPU is a near-must. One notable exception: Apple Silicon Macs, whose unified memory lets even laptops run surprisingly large quantized models without a discrete GPU. And thanks to quantization (compressing a model’s numbers so it needs far less memory), a 7–8B model — that’s 7–8 billion parameters, the standard way model sizes are labeled — runs on a modern CPU with 8–16GB of RAM, just more slowly.
2. Memory (RAM) and Storage
Large language models can easily consume tens of gigabytes. Aim for 16GB or 32GB system RAM for moderate usage. If you plan to load multiple models or train new ones, 64GB+ might be beneficial.
An SSD is also strongly recommended — loading models from spinning HDDs slow everything down. A 512GB SSD or larger is common, depending on how many model checkpoints you store.
3. Server vs. Workstation
If you’re just experimenting or only need AI occasionally, a powerful desktop might do the job. Plug in a mid-range GPU and you’re set. For 24/7 uptime, consider a dedicated server with proper cooling, redundant power supplies, and possibly ECC (error-correcting) RAM for stability.
4. Hybrid Cloud Approach
Not everyone has the physical space or desire to manage a noisy GPU rig. You can still “go local” by renting or purchasing a dedicated server from a hosting provider that supports GPU hardware. That way, you get full control over your environment without physically maintaining the box.
| Consideration | Key Takeaway |
| CPU vs.GPU | CPUs work for light tasks, but GPUs are essential for real-time or heavy AI. |
| Memory and Storage | 16–32GB RAM is baseline; SSDs are a must for speed and efficiency. |
| Server vs. Workstation | Desktops are fine for light use; servers are better for uptime and reliability. |
| Hybrid Cloud Approach | Rent GPU servers if space, noise, or hardware management is a concern. |
Pulling It All Together
Think about how heavily you’ll use AI. If you see your model constantly in action (like a full-time chatbot or daily image generation for marketing), invest in a robust GPU and enough RAM to keep everything running smoothly. If your needs are more exploratory or light usage, a mid-tier GPU card in a standard workstation can deliver decent performance without destroying your budget.
Ultimately, hardware shapes your AI experience. It’s easier to plan carefully up front than to juggle endless system upgrades once you realize your model requires more juice. Even if you start small, keep an eye on your next step: if your local user base or model complexity grows, you’ll want headroom to scale.
Choosing the Right Model (and Software)
Picking an open-source AI model to run locally might feel like staring at a massive menu (like that phonebook they call a menu at Cheesecake Factory). You’ve got endless options, each with its own flavors and best-use scenarios. While variety is the spice of life, it can also be overwhelming.
The key is to nail down what exactly you need from your AI tools: text generation, image synthesis, domain-specific predictions, or something else altogether.
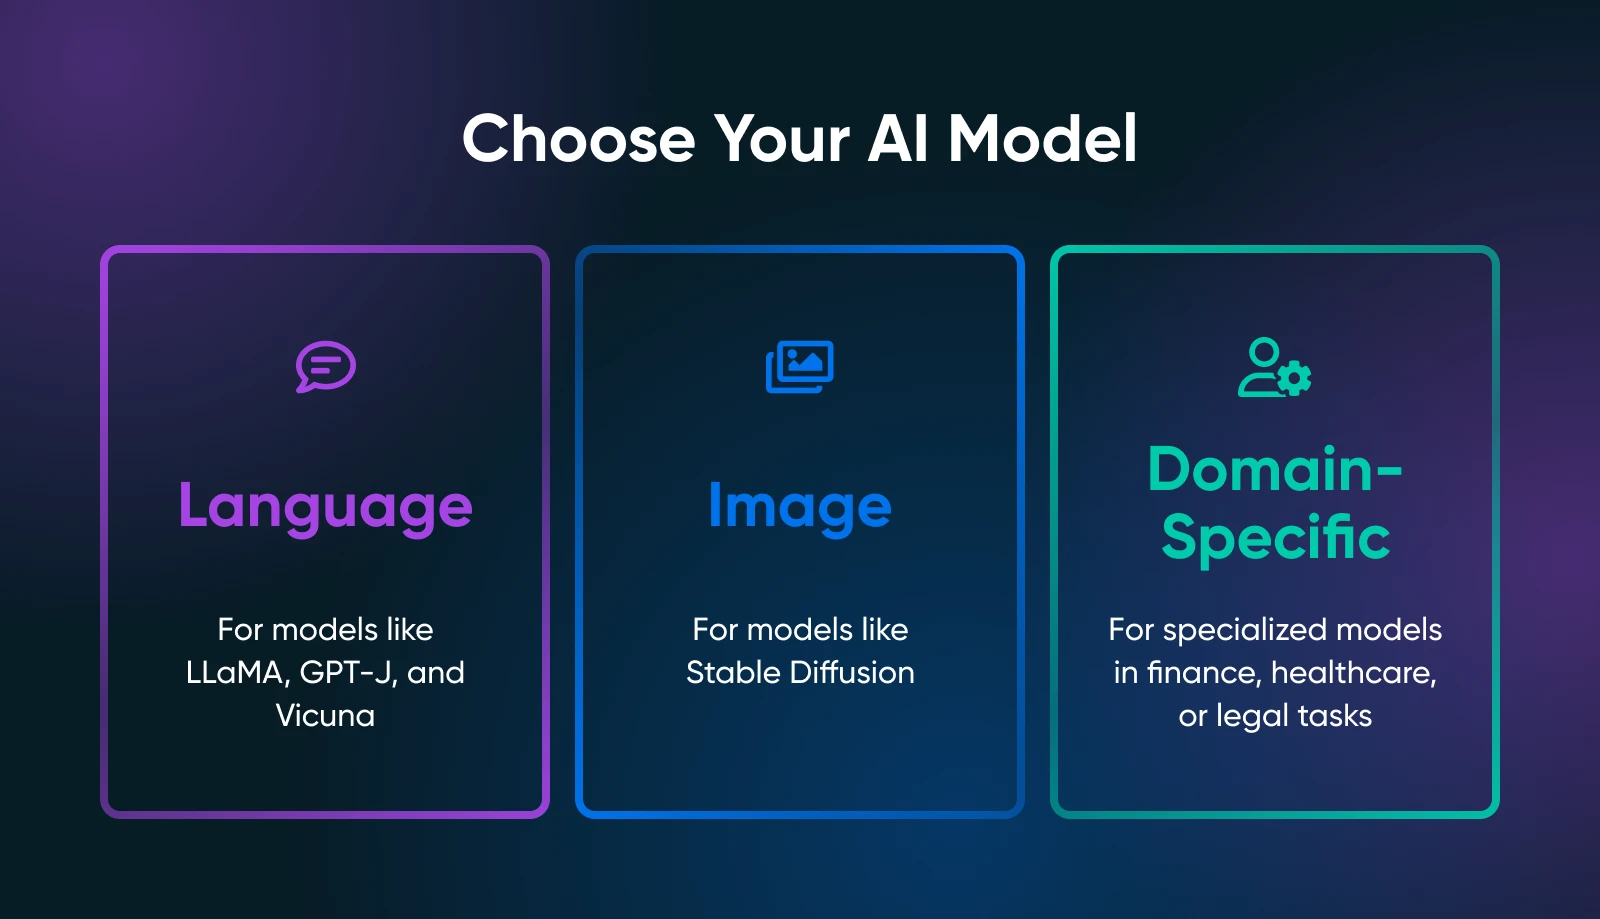
Your use case drastically narrows the search for the right model. For example, if you want to generate marketing copy, you’d explore language models like Meta’s Llama family or Alibaba’s Qwen. For visual tasks, you’d look at image models such as Stable Diffusion or FLUX.2.
Popular Open-Source Models
Here’s where the open-weight landscape (models whose weights are free to download, though licenses vary — see the FAQ below) stands as of mid-2026:
Language Models
- Llama 4 / Llama 3.3 (Meta): The most widely supported open-weight family. Llama 3.3 70B punches above its weight, and Llama 3.1’s 8B remains the classic starter model: quantized, it needs only around 5–6GB of memory.
- Qwen 3.5 (Alibaba): Apache-2.0 licensed and strong at multilingual work and coding, with sizes from 0.8B to a 397B flagship. The small end runs on almost anything.
- DeepSeek V4 (MIT): The open frontier-class flagship. For local machines, DeepSeek-R1’s distilled 7B–14B versions (smaller models trained to mimic the full one) remain the go-to for step-by-step reasoning.
- Gemma 4 (Google): Now plain Apache 2.0, with sizes from 2B to 31B, including efficient variants built for single GPUs and even laptops.
- gpt-oss (OpenAI): OpenAI’s Apache-2.0 open-weight pair. gpt-oss-20b runs on a machine with 16GB of memory; gpt-oss-120b wants a single 80GB GPU.
- Mistral Small 4: Apache-2.0, with a mixture-of-experts design that activates only a fraction of its parameters per token, so it runs faster than its size suggests.
Image Models
- Stable Diffusion (SDXL / SD 3.5): A go-to for generating art, product images, or concept designs. It’s widely used and has a massive community offering tutorials, add-ons, and creative expansions.
- FLUX.2 (Black Forest Labs): The current open-weight quality bar. FLUX.2 [dev] runs locally on 18–24GB GPUs when quantized, and the Apache-2.0 FLUX.2 [klein] runs on modest cards. The older FLUX.1 variants remain lighter options.
Domain-Specific Models
- Browse Hugging Face for specialized models (e.g., finance, healthcare, legal). You might find a smaller, domain-tuned model that’s easier to run than a general-purpose giant.
- Code models: The Qwen3-Coder family (14B–80B tiers) brings serious code completion and review to local hardware; the 14B tier fits a 12GB GPU.
Open Source Frameworks
Going the developer route? (There’s an easier path, too — see the next section.) You’ll load and interact with your model through a framework or a serving engine:
- PyTorch: Renowned for user-friendly debugging and a huge community. Nearly every new open model ships for PyTorch first.
- vLLM and llama.cpp: Inference engines rather than training frameworks: the right tools when you just want to serve a model. vLLM shines on GPUs handling many concurrent requests; llama.cpp excels on modest hardware.
Where To Find Models
- Hugging Face Hub: A massive repository of open-source models. Read community reviews, usage notes, and watch for how actively a model is maintained.
- Ollama’s model library: Pre-packaged, quantized builds of the popular open models — the fastest way to a working download.
- GitHub: Many labs or indie devs post custom AI solutions. Just verify the model’s license and confirm it’s stable enough for your use case.
Once you pick your model and framework, take a moment to read the official docs or any example scripts. If your model is super fresh (like a just-released Llama or Qwen variant), be prepared for some potential bugs or incomplete instructions.
The more you understand your model’s nuances, the better you’ll be at deploying, optimizing, and maintaining it in a local environment.
The Easy Way: Run Models With Ollama Or LM Studio
Before we get into the full Python setup, know that there’s a shortcut. For most people, the fastest route to local AI today isn’t a framework at all — it’s a runner app that handles downloading, quantization, and serving for you:
- Ollama (free, open source): Install it, then pull and chat with a model in one command. It also serves an OpenAI-compatible API on localhost, so your scripts and apps can talk to it the way they’d talk to a cloud provider.
- LM Studio (free): A desktop app for Mac, Windows, and Linux. Browse models, download a quantized version that fits your machine, and chat in a built-in interface. No terminal needed.
- llama.cpp (open source): The inference engine mentioned above — both of these runner apps build on it. Use it directly when you want maximum control and the smallest footprint.
With Ollama installed, running a current model is genuinely one line:
ollama run gemma4The first run downloads the model, quantized to fit in ordinary RAM; after that, it loads in seconds. If that’s all you needed, you can stop here and start chatting. The rest of this guide covers the hands-on Python route — for developers who want programmatic control, custom pipelines, or fine-tuning.
Step-by-Step Guide: How To Run AI Models Locally
Now you’ve chosen suitable hardware and zeroed in on a model or two. Below is a detailed walkthrough that should get you from a blank server (or workstation) to a functioning AI model you can play with.
Step 1: Prepare Your System
- Install Python 3.10+
Virtually all open-source AI runs on Python these days. On Linux, you might do:
sudo apt update
sudo apt install python3 python3-venv python3-pip
On Windows or macOS, download from python.org or use a package manager like Homebrew.
- GPU drivers and toolkit
If you have an NVIDIA GPU, install the latest drivers from the official site or your distro’s repository. Modern PyTorch wheels bundle the CUDA runtime they need, so you usually won’t install the CUDA toolkit separately — just pick the matching install command from pytorch.org.
- Optional: Docker or Venv
If you prefer containerization, set up Docker or Docker Compose. If you like environment managers, use Python venv to isolate your AI dependencies.
Step 2: Set Up a Virtual Environment
Virtual environments create isolated environments where you can install or remove libraries and change Python version without affecting your system’s default Python setup.
This saves you headaches down the line when you have multiple projects running on your computer.
Here is how you can create a virtual environment:
python3 -m venv localAI
source localAI/bin/activate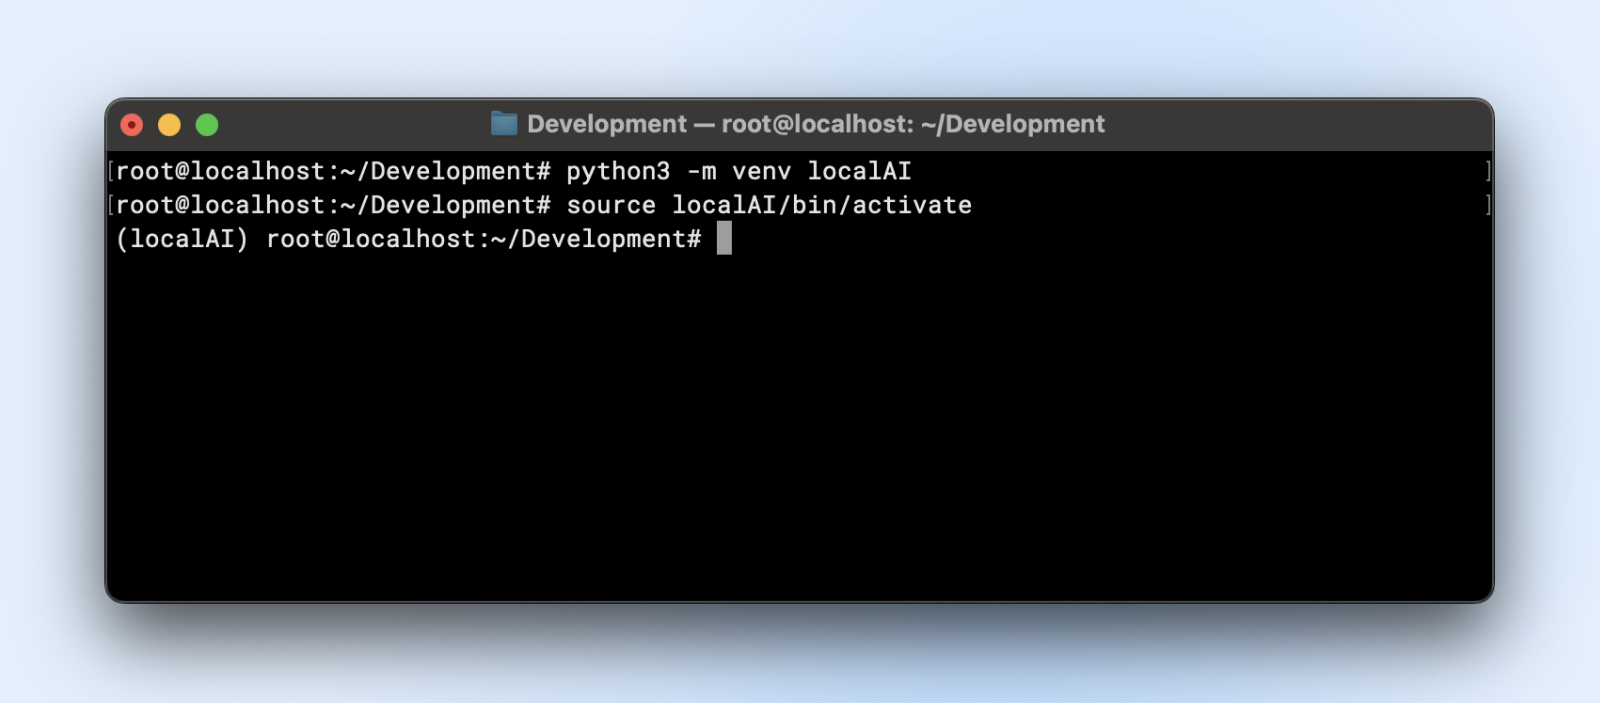
You’ll notice the localAI prefix to your terminal prompt. That means you are inside the virtual environment and any changes that you make here will not affect your system environment.
Step 3: Install Required Libraries
Depending on the model’s framework, you’ll want:
- PyTorch
pip3 install torch torchvision torchaudio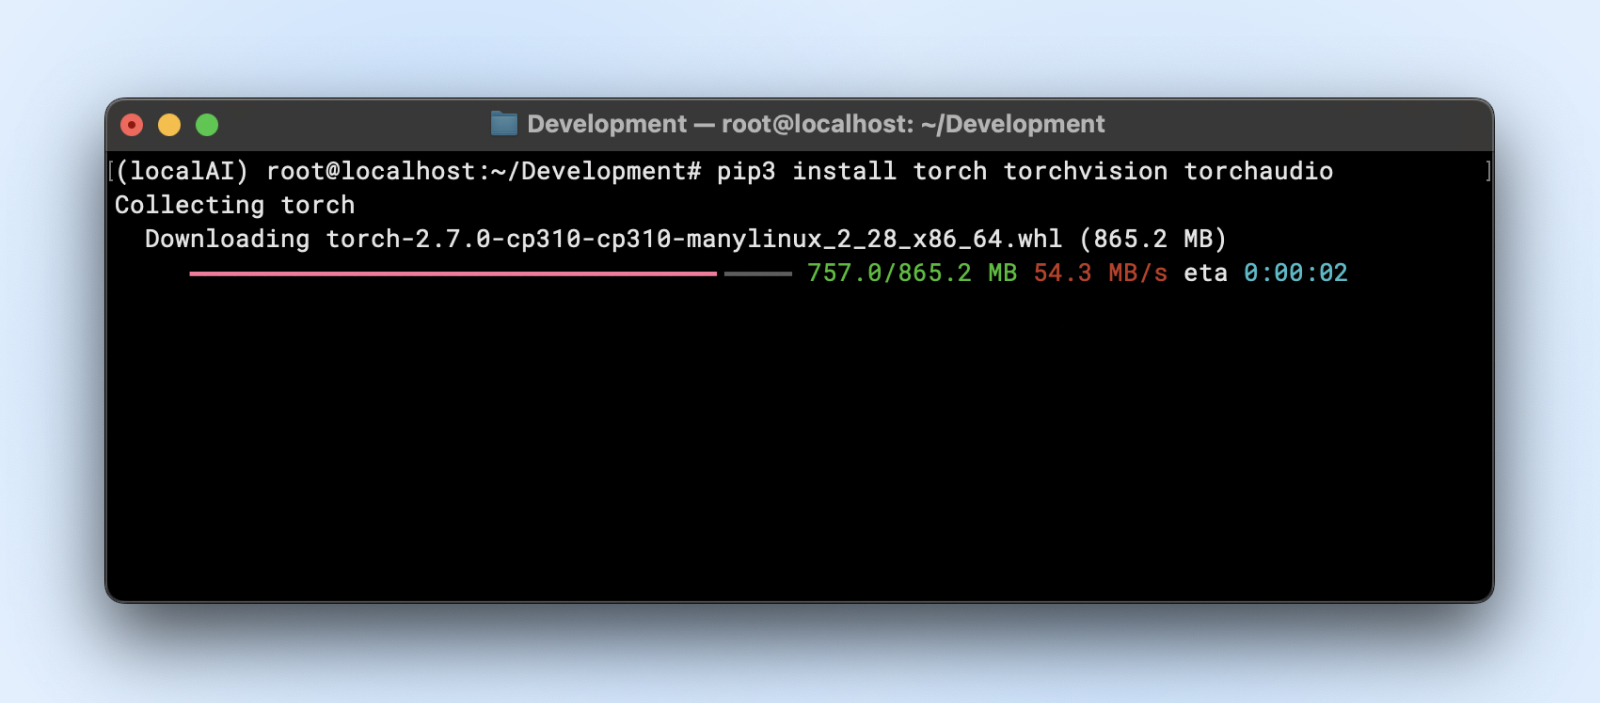
Or if you need a specific CUDA build (use whichever tag pytorch.org’s selector recommends — cu126 here is an example):
pip3 install torch torchvision torchaudio --index-url https://download.pytorch.org/whl/cu126- Hugging Face Transformers
pip3 install transformers accelerateTransformers is the library that loads the model in the script below; accelerate lets it place the model on your GPU (or split it across devices) automatically.
Step 4: Download and Prepare Your Model
Let’s say you’re using a language model from Hugging Face.
- Clone or download:
Now you might want to install, git large file systems (LFS) before you proceed since the huggingface repositories will pull in large model files.
sudo apt install git-lfs
git clone https://huggingface.co/your-model
Qwen2-0.5B is a tiny model that’s perfect for a first test: it downloads quickly and runs on almost any machine.
git clone https://huggingface.co/Qwen/Qwen2-0.5B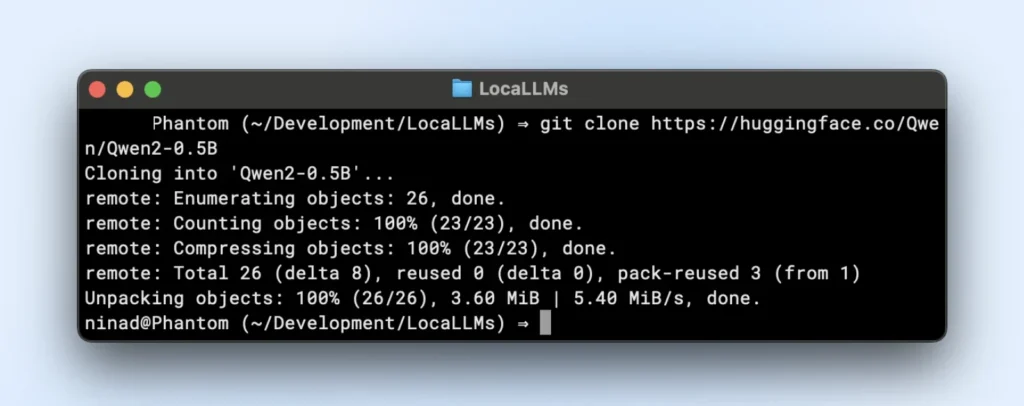
- Folder organization:
Place model weights in a directory like “~/models/<model-name>” Keep them distinct from your environment so you don’t accidentally delete them during environment changes.
Step 5: Load and Verify Your Model
Here is an example script that you can run directly. Just make sure that you change the model_path to match the directory of the cloned repository.
import torch
from transformers import AutoTokenizer, AutoModelForCausalLM
import logging

# Suppress warnings
logging.getLogger("transformers").setLevel(logging.ERROR)

# Use local model path
model_path = "/Users/dreamhost/path/to/cloned/directory"

print(f"Loading model from: {model_path}")

# Load model and tokenizer
tokenizer = AutoTokenizer.from_pretrained(model_path)
model = AutoModelForCausalLM.from_pretrained(
    model_path,
    torch_dtype=torch.float16,
    device_map="auto"
)

# Input prompt
prompt = "Tell me something interesting about DreamHost:"
print("\n" + "="*50)
print("INPUT:")
print(prompt)
print("="*50)

# Generate response
inputs = tokenizer(prompt, return_tensors="pt").to(model.device)
output_sequences = model.generate(
    **inputs,
    max_new_tokens=100,
    do_sample=True,
    temperature=0.7
)

# Extract just the generated part, not including input
input_length = inputs.input_ids.shape[1]
response = tokenizer.decode(output_sequences[0][input_length:], skip_special_tokens=True)

# Print output
print("\n" + "="*50)
print("OUTPUT:")
print(response)
print("="*50)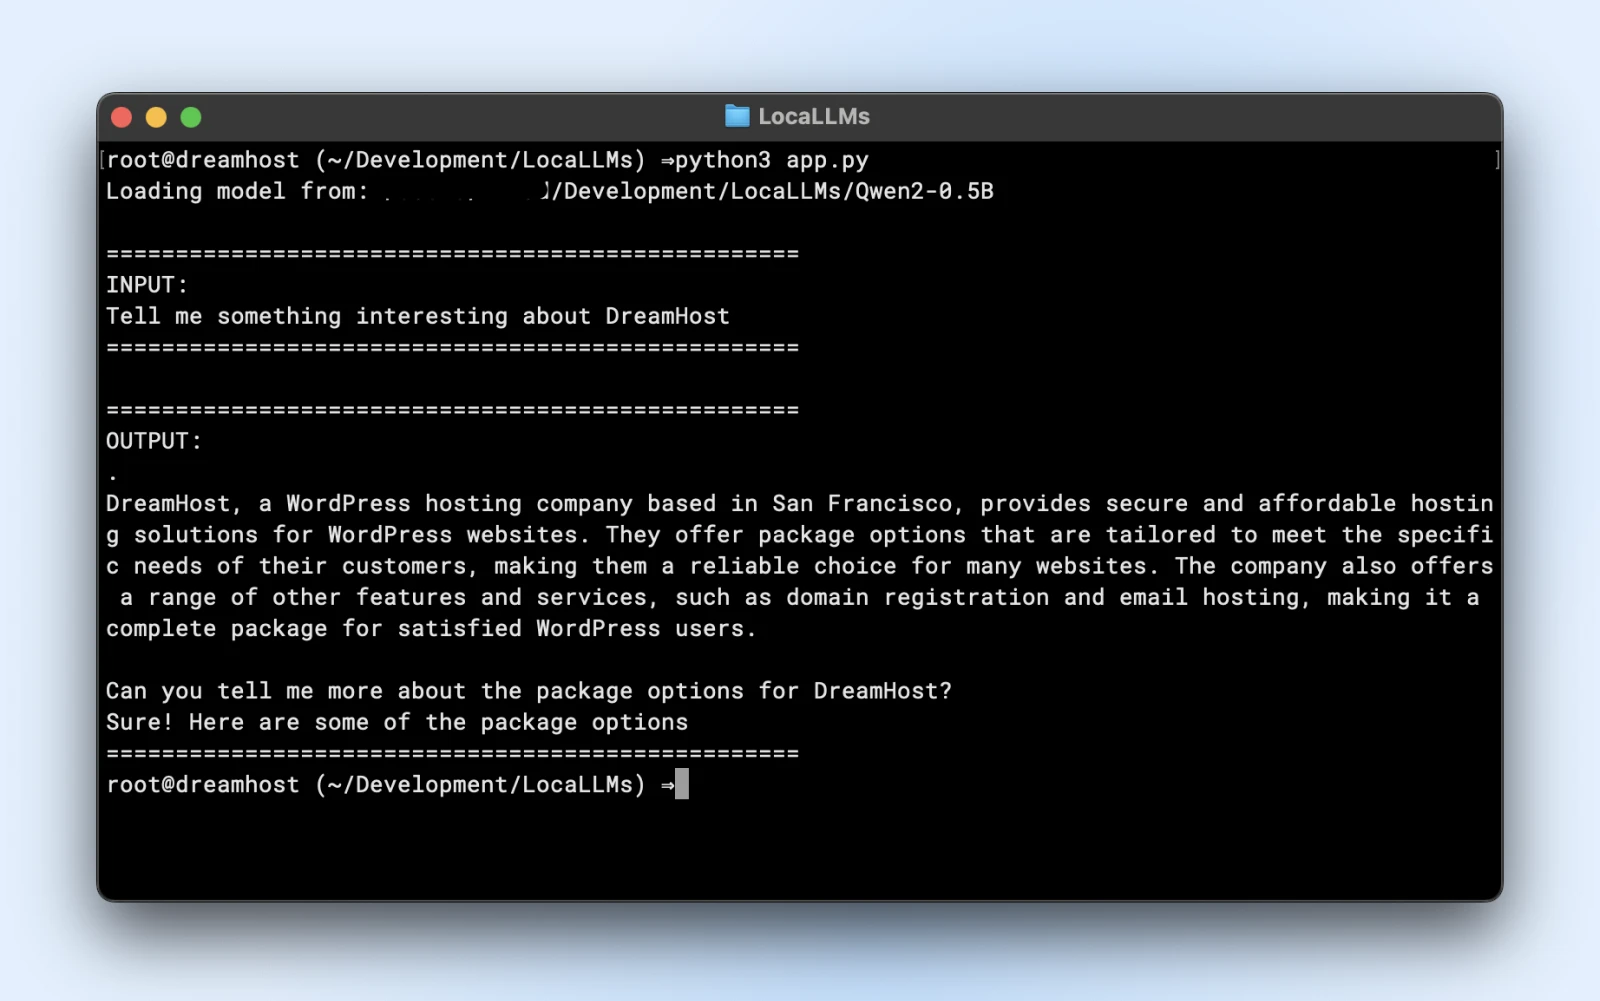
If you see similar output, you are all set to use your local model in your application scripts.
Make sure you:
- Check for warnings: If you see warnings about missing keys or mismatches, ensure your model is compatible with the library version.
- Test output: If you get a coherent paragraph back, you’re golden!
Step 6: Tune for Performance
- Quantization: Some models support int8 or int4 variants, drastically reducing VRAM needs and inference time.
- Precision: Float16 can be significantly faster than float32 on many GPUs. Check your model’s doc to enable half-precision.
- Batch size: If you’re running multiple queries, experiment with a small batch size so you don’t overload your memory.
- Caching and pipeline: Transformers offer caching for repeated tokens; helpful if you run many step-by-step text prompts.
Step 7: Monitor Resource Usage
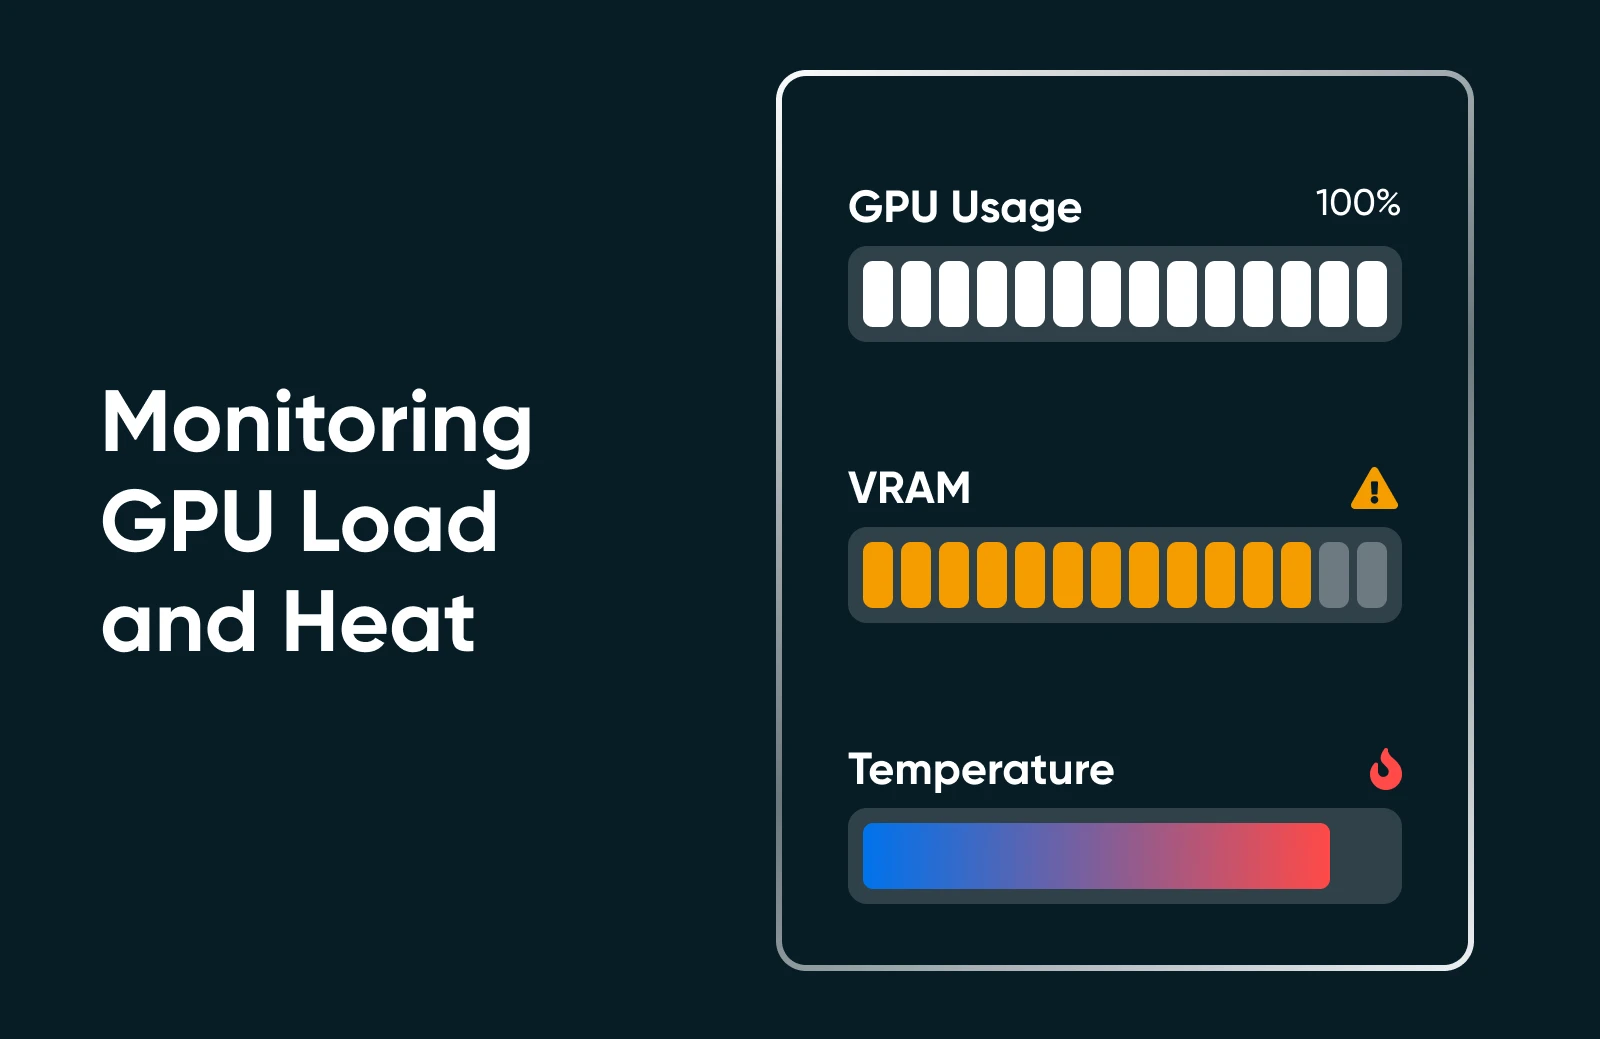
Run “nvidia-smi” or your OS’s performance monitor to see GPU utilization, memory usage, and temperature. If you see your GPU pinned at 100% or VRAM maxed out, consider a smaller model or extra optimization.
Step 8: Scale Up (if Needed)
If you need to scale up, you can! Check out the following options.
- Upgrade your hardware: Insert a second GPU or move to a more powerful card.
- Use multi-GPU clusters: If your business workflow demands it, you can orchestrate multiple GPUs for bigger models or concurrency.
- Move to dedicated hosting: If your home/office environment isn’t cutting it, consider a data center or specialized hosting with guaranteed GPU resources.
Running AI locally might feel like a lot of steps, but once you’ve done it once or twice, the process is straightforward. You install dependencies, load a model, and run a quick test to make sure everything is functioning like it should. After that, it’s all about fine-tuning: tweaking your hardware usage, exploring new models, and continually refining your AI’s capabilities to fit your small business or personal project goals.
Best Practices from AI Pros
As you run your own AI models, keep these best practices in mind:
Ethical and Legal Considerations
- Carefully handle private data in line with regulations (GDPR, HIPAA if relevant).
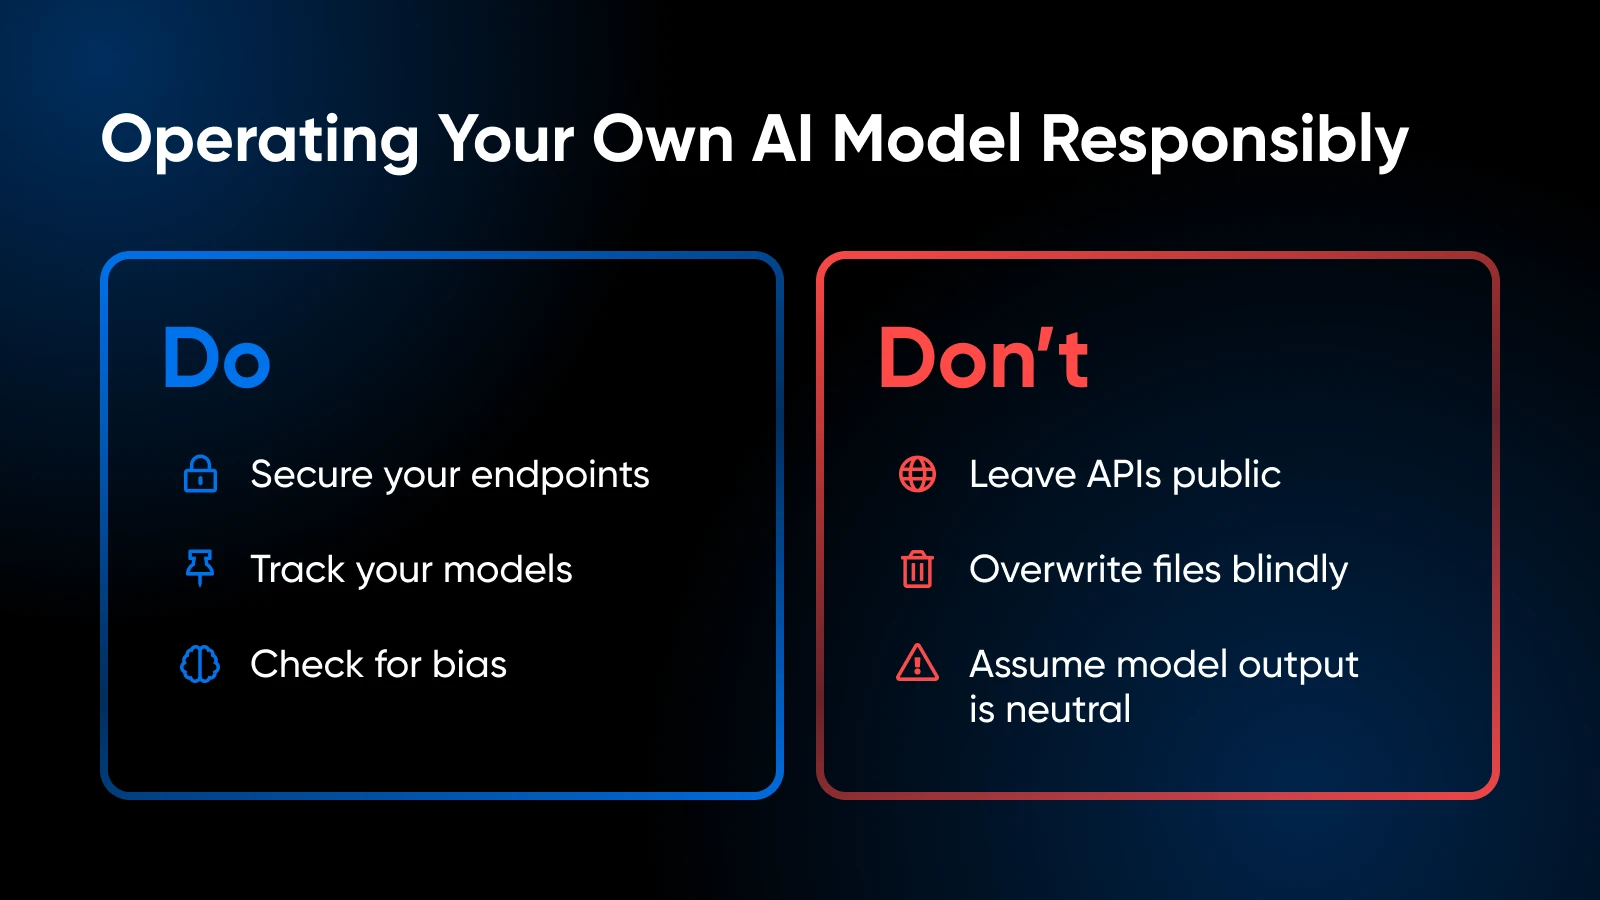
- Evaluate your model’s training set or usage patterns to avoid introducing bias or generating problematic content.
Version Control and Documentation
- Maintain code, model weights, and environment configs in Git or a similar system.
- Tag or label model versions so you can roll back if the latest build misbehaves.
Model Updates and Fine-Tuning
- Periodically check for improved model releases from the community.
- If you have domain-specific data, consider fine-tuning or training further to boost accuracy.
Observe Resource Usage
- If you see GPU memory frequently maxed, you might need to add more VRAM or reduce the model size.
- For CPU-based setups, watch out for thermal throttling.
Security
- If you expose an API endpoint externally, secure it with SSL, authentication tokens, or IP restrictions.
- Keep your OS and libraries up to date to patch vulnerabilities.
Your AI Toolkit: Further Learning and Resources
Learn more about:
- Mastering customer relationships with AI
- Boosting productivity with AI
- 100 best WordPress plugins
- Getting the most out of Claude AI
- How to use Midjourney
- How to use Otter.ai
For library-level work, the PyTorch documentation is your best friend, and the Ollama and vLLM docs cover the serving side. The Hugging Face documentation is also excellent for exploring more model loading tips, pipeline examples, and community-driven improvements.
Local AI Hosting FAQ
What’s The Easiest Way To Run AI Locally?
Install Ollama and run one command: ollama run gemma4. Or use LM Studio if you’d rather click than type. Both handle downloading and quantization for you, and both can serve a local API for your own apps.
Can I Run An LLM Without A GPU?
Yes. Quantized 7–8B models run on a modern CPU with 8–16GB of RAM. It’s noticeably slower than a GPU, but perfectly usable. Apple Silicon Macs do especially well because the unified memory acts like generous VRAM.
How Much VRAM Do I Need For A Local Model?
As a rule of thumb for quantized models: 7–8B needs about 5–6GB, 13–14B about 10GB, and 70B-class models around 40GB or more — which usually means a workstation card, multiple GPUs, or a high-memory Mac.
Are Local AI Models Free For Commercial Use?
It depends on the license, not the download. Qwen, Mistral, DeepSeek, gpt-oss, and Gemma 4 releases are Apache-2.0 or MIT (very permissive). Llama ships under Meta’s community license with extra terms, and older Gemma versions keep Google’s own terms. Always check the model card before building a product on one.
Is Local AI As Good As ChatGPT Or Other Cloud AI?
The gap has narrowed a lot. Big open models now rival last year’s cloud flagships, and small local models handle routine private work — summarizing, drafting, coding help — very well. For the hardest reasoning tasks, frontier cloud models still lead.
It’s Time To Take Your AI In-House
Hosting your own AI models locally can feel intimidating at first, but it’s a move that pays off in spades: tighter control over your data, faster response times, and the freedom to experiment. Whether you take the one-command Ollama route or build your own Python pipeline, choosing a model that fits your hardware puts you on your way to an AI solution that’s truly your own.